|
|
954RR Brow Light Mod Page 3 | |
|
|
I'd like to take credit for coming up with this mod, but I'm just not that clever. I got the idea and some directions off the forums at the Honda Sportbike Network, where I believe credit has to go to 1sic954rr for being the first to do it there, and to YakSpout for the relay wiring post. Also credit has to go to HondalGal over at FireBlades.org, I believe she was the first one to do it over there. Like I said, I don't come up with this stuff, but I do plagiarize very well, just ask my high school English teacher ;-)Just a quick disclaimer... I make no guarantee, warrantee, or promise that you won't royally screw up you bike by following these instructions. If you drill through your headlight, sorry but I'm not going to buy you a new one. Take your time, measure before you cut/drill and use common sense and you SHOULD be ok, but like I said I'm not promising anything. Hell, I don't even know what I'm talking about most of the time!You'll notice that I have pics from two different bike, one is mine the other is my brothers. This is my first tutorial of any kind so I didn't get all the pics I needed the first time around (or the second either for that matter) OK, on to the fun... |
|||
|
|
||||
Drilling the holes |
||||
 |
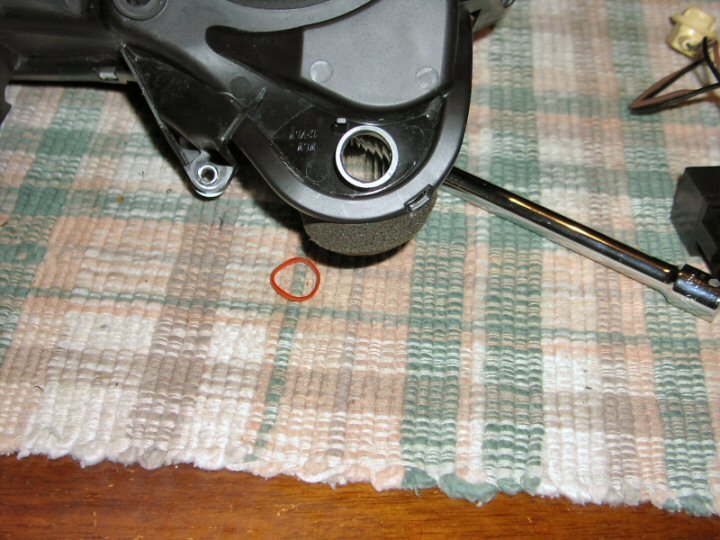
OK, now for the nerve racking part, drilling a couple holes in your headlight assembly. Start off by removing the little nipples (huh huh huh, I said nipple) that are poking up in the center of the two light socket areas. Just shave them off with the utility knife (better yet just remove the razor blade and just use that) to give us a flat place to drill into. The pictures not that great, but you'll get the idea. | |||
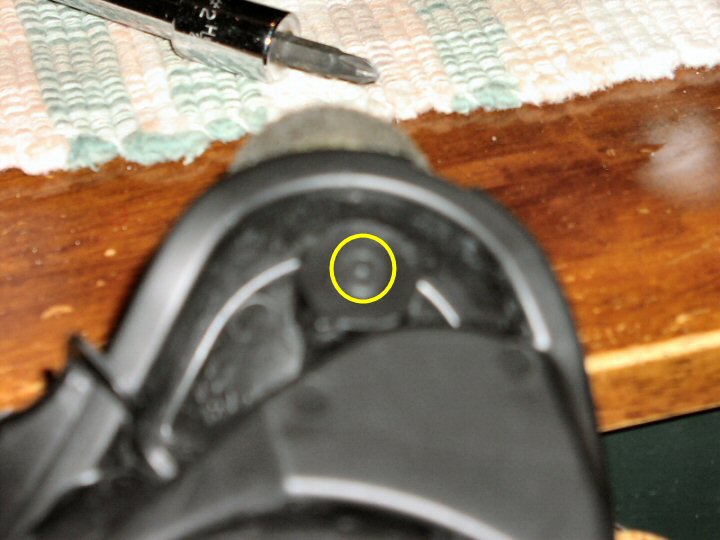
| Once that's done you need to drill a 1/8" pilot hole in the center of the brow light area, right where those nipples were that you just shaved off (ouch!). Be CAREFUL you don't want to drill through your headlight lens. Sorry I didn't get a picture of the pilot hole. | ||||
|
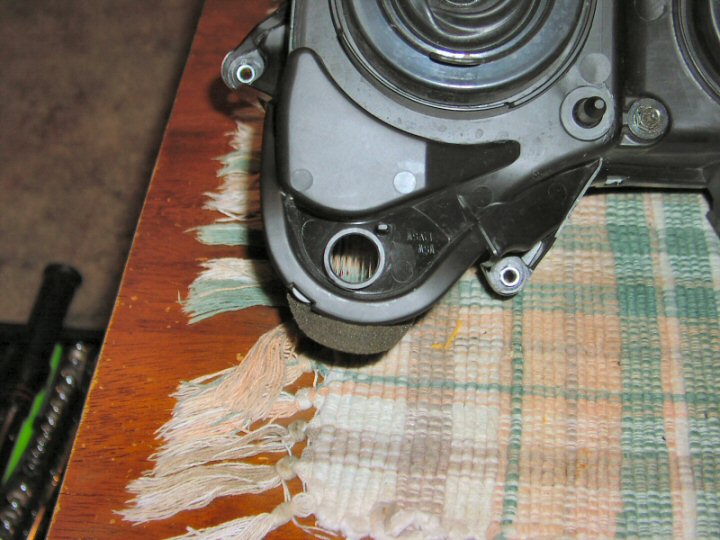
Next put the Uni-Bit in the drill. You could use regular drill bits and just keep increasing the size until your new light sockets fit, but take my advice and get a Uni-Bit (some people call them step bits as well). They work great and will leave a perfectly round hole, something that I seem to have a problem getting regular drill bits to do in plastic. I've used both and the Uni-Bit wins no contest. Make sure to keep checking the hole size as you go, you don't want to make the hole to big. The sockets I'm using needed an 11/16" hole (I got some 90 degree 194 Cal-Term sockets at Auto Zone) and fit nice and snug, but I've heard that other sockets only need a 1/2" hole - measure twice, cut once! You should probably also put some silicon sealant on them, but wait until you have everything wired and tested to do that. | |||
| Now you need to clean out any plastic shavings that may have fallen inside the headlight. This sounds worse that it is. I used a combination of gentle tapping, compressed air, and a lint free cloth wrapped around a 1/4" socket extension (sounds weird, but it worked). It only took about 5 minutes a side, as there shouldn't be to much in there, the Uni-bit helps here by creating long pieces that are easy to get out. Just make sure you don't touch the reflector with anything but the lint free cloth (make sure it's lint free or you could have a real mess on your hands). I've done two of these mods and haven't had any problem getting the shavings (and I mean all of them) out of the headlight assembly. | ||||
| Now go ahead and put the faring back together, but leave it off the bike. Assembly is the reverse of disassembly (hey I could write repair manuals!). | ||||
| Go to page four for wiring fun... | ||||
This site was last updated 04/22/04